
How to Transport a Kayak Without a Roof Rack
How to Transport a Kayak Without a Roof Rack
How to transport a kayakYou don’t need a $400 roof rack system to get your kayak to the water. Millions of paddlers haul their boats using nothing more than foam blocks, cam straps, and a little know-how. Whether you’re working with a sedan, an SUV, a pickup truck, or you own an inflatable, there’s a method here that will get you on the water safely — and legally — without spending a fortune on hardware.
The Classic Method: Foam Blocks or Pool Noodles on the Roof
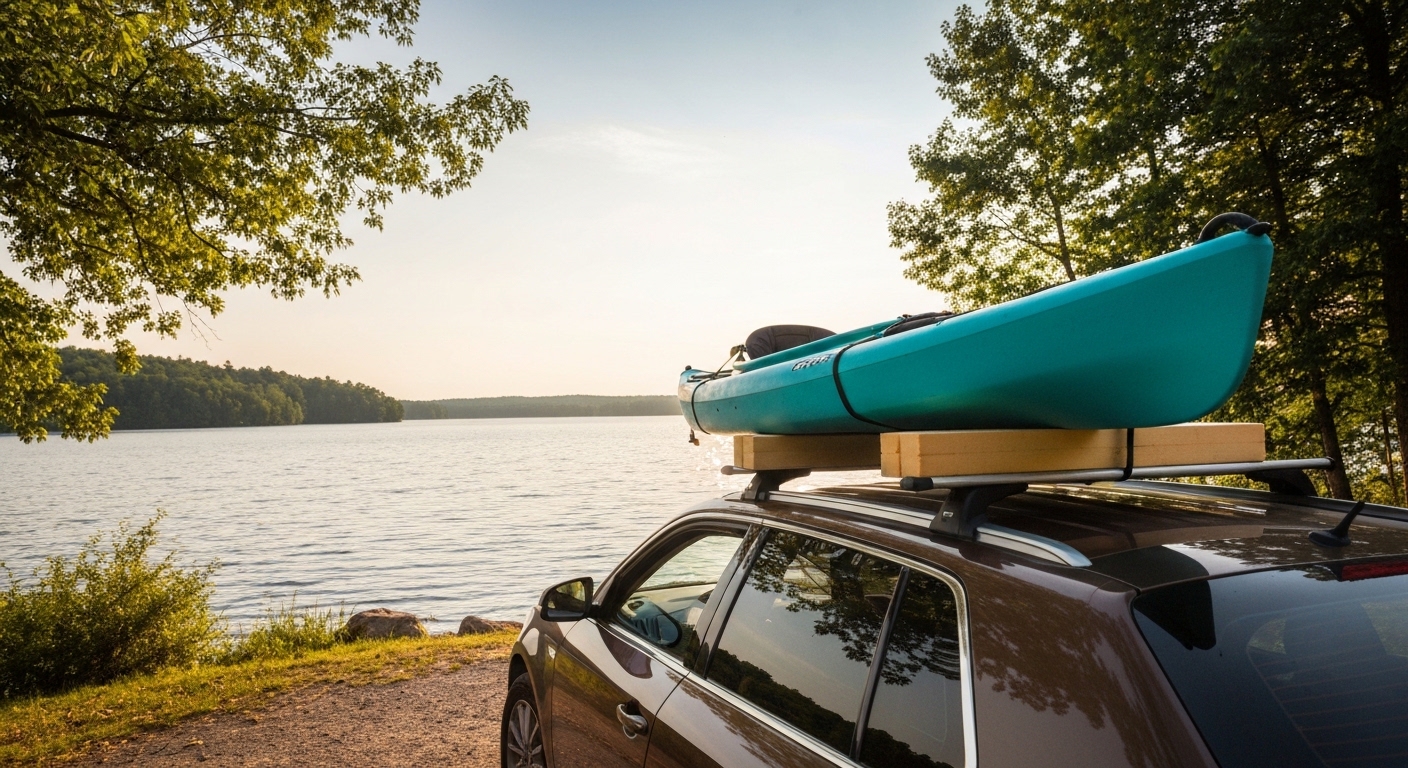
This is the go-to solution for paddlers who don’t own a rack system. Foam blocks designed for kayak transport — or a pair of pool noodles cut to about 18 inches each — act as a cushioned cradle between your kayak and your car roof. They protect your hull, protect your paint, and spread the load across the roof surface instead of concentrating it on one point.
What you’ll need: Two foam blocks or pool noodles, two cam straps (12–15 feet each), and bow and stern tie-down lines.
Step-by-step:
- Place one foam block near the front of your roof and one near the rear, roughly matching the spacing of where a rack crossbar would sit.
- Lift the kayak and set it centered on the foam blocks, cockpit facing up.
- Thread one cam strap over the hull, open your front doors, loop the strap down through the interior (across the door frame area, not the glass), and cinch it snug on the opposite side. Repeat with the second strap at the rear foam block.
- The straps should hold the kayak firmly without crushing the hull. You want firm, not white-knuckle tight — over-tightening can warp a composite or plastic hull.
- Attach a bow line from the front toggle or grab handle of the kayak down to your front tow hook or bumper bracket. Attach a stern line from the rear of the kayak down to your rear tow hook or trailer hitch.
That last step is not optional. Bow and stern lines are what keep your kayak from sliding forward in a hard brake or lifting off the roof at highway speeds. See the safety callout below for more on this.
For more on gear that makes transport easier, check out our guide to the best kayak accessories.
Bow and Stern Lines: The Step You Cannot Skip
Cam straps through the doors hold the kayak down — they do not prevent it from shooting forward during emergency braking or catching air and lifting at speed. Without bow and stern lines, your kayak is one hard stop away from going through someone’s windshield. This is the single most common mistake paddlers make when transporting without a rack. Tie both lines, every single time, no exceptions. Use proper cam straps or rope rated for the load — bungee cords are not an acceptable substitute.
The Easiest Answer: Inflatable Kayaks
If you’re still in the shopping phase, here’s the honest answer: the simplest way to transport a kayak without a roof rack is to own an inflatable. Modern inflatable kayaks — especially from brands like Advanced Elements, Sea Eagle, and Aquaglide — are legitimate on-water boats that deflate, roll up, and fit into a large duffel bag or backpack. You put them in your trunk, back seat, or cargo area and drive away. No straps, no roof load, no height worries.
The trade-off is that inflatables take 10–20 minutes to set up at the water, and they generally aren’t as fast or efficient as rigid boats on the water. But for casual paddlers, beginners, and anyone who travels frequently or lives in an apartment, they remove the transport problem entirely.
See our full roundup of the best inflatable kayaks to find models that balance packability with real on-water performance.
Truck Bed Transport: Bed Extender or Flag Method
If you drive a pickup truck, you may already have the best kayak hauler on the road. A standard short-bed truck (5.5 feet) won’t fit a 10-foot kayak with the tailgate up — but drop the tailgate and use a bed extender, and you’re set. A bed extender bolts into your trailer hitch receiver and provides a support arm that the bow of the kayak can rest on, keeping the boat stable with the stern sitting in the bed.
Without a bed extender, you can haul with the tailgate down and the kayak hanging out the back — but you are legally required to attach a red flag to anything hanging more than 4 feet past your rear bumper in most U.S. states. Check your local laws; some states have specific length limits on how far cargo can overhang.
Either way, strap the kayak to the truck bed cleats using cam straps to prevent side-to-side movement, and always run a stern line to the hitch so the boat can’t slide backward if you brake hard.
Small Trailers and Kayak Carts
A single-kayak trailer is another rack-free option that works for almost any vehicle. Entry-level kayak trailers start around $300–$500 and can typically carry two to four boats. If you paddle regularly, the math often makes a trailer more cost-effective than a quality roof rack system — and it puts zero stress on your vehicle’s roof.
For shorter hauls — say, from a parking lot to a launch ramp — a simple kayak cart or trolley lets you wheel the boat manually without putting it on your car at all. These aren’t a highway solution, but they’re worth mentioning for paddlers who store their kayak near the water.
Our full guide on how to transport a kayak covers trailers, racks, and carts in more detail if you want to compare all your options side by side.
Folding and Modular Kayaks: The Middle Ground
Between inflatables and rigid boats sits a smaller but growing category: folding and modular kayaks. Folding kayaks (like those from Oru Kayak) use corrugated polypropylene panels that fold flat into a suitcase-style box. Modular kayaks (like Pakayak or Point 65) break into sections that stack in your trunk or back seat.
These are serious boats — Oru kayaks, for example, handle open water and are used by experienced paddlers — but they pack down small enough that roof transport becomes irrelevant. The price premium is real (expect $1,000–$2,500), but for someone who lives in a city, travels with their boat, or simply doesn’t want to deal with roof logistics, they solve the problem permanently.
Safety Checklist and What NOT to Do
Before you pull out of the driveway, run through this quick checklist:
- Bow and stern lines attached? Yes, we’re saying it again. This is the step people skip.
- Straps snug but not over-tightened? You should not be able to slide the kayak, but the hull should not show stress deformation at the contact points.
- Foam blocks or noodles properly positioned? They should be under the most structurally solid parts of the hull, not under thin sections or the cockpit rim.
- Height check? Know your loaded vehicle height before you drive into a parking garage or under a low bridge. Adding a kayak to your roof can add 18–24 inches.
- Test wiggle? Grab the bow and stern and try to shift the boat. It should feel solid. If it moves, tighten and re-check.
What NOT to do:
- Do not place a kayak on a bare roof without padding. You will scratch your car and potentially damage your hull, and the boat will have nothing to grip on a smooth metal surface.
- Do not run straps over your windshield or across the windshield seal. Straps sitting on glass can vibrate and cause cracking; straps sitting on the rubber seal can peel it away from the frame. Thread straps through the door openings, not across the glass.
- Do not skip the bow and stern lines because the cam straps “feel really tight.” Cam straps prevent vertical movement. Bow and stern lines prevent horizontal and lifting movement. You need both.
- Do not use bungee cords as your primary tie-down. Bungee cords stretch under load and will not hold a kayak at highway speeds.
- Do not exceed your vehicle’s roof load rating. Most passenger cars are rated for 100–165 lbs of dynamic roof load. Check your owner’s manual if you’re close to that limit with a heavy composite boat.